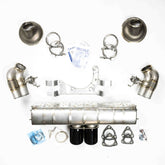
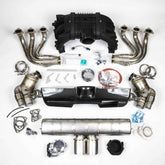
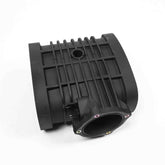
992 GT3RS LCA Inner Installation instructions

Installation instructions Rev 1.0 / 07-2024
NOTE: Installation process is more involved than with 991 or 997 cars
REQUIRED STEPS BEFORE INSTALLATION PROCESS:
▪ Remove wheels.
▪ Remove front under-panel. This requires removing the strakes as well.
▪ Remove the LCA brake duct.
▪ Remove the Lower Knuckle bottom brake duct.

1. To remove the LCA height sensor (A):
1.1. Use side cutters to pop the plastic link (C) off the ball socket.
1.2. For removing Connector (B) push the red tab back (CPA – Connector
Position Assurance).
1.3. Release connector tab to remove the connector.
1.4. Remove the 10mm mounting bolt (D) and remove height sensor (A).

2. Remove the nut (F – Figure 4.) on the LCA mounting bolt (E – Figure 3.). For now, leave the bolt (E) mounted.
3. Remove the nut (H – Figure 5.) and bolt (G – Figure 5.) for the tension arm to the LCA.

4. Remove the 2x 16mm nuts and washers (I – Figure 6.) bolting the Inner LCA to the outer LCA. (16mm thin wall deep socket needed).
* PRO TIP *:
Turn the knuckle or wheel to turning out. The brake caliper in, and the tie rod pushing out. This will allow more room.
5. Remove the LCA mounting bolt (E – Figure 6.).
On the passenger side, you must slightly bend or push up the Hard A/C line to get enough distance space to remove the bolt completely.
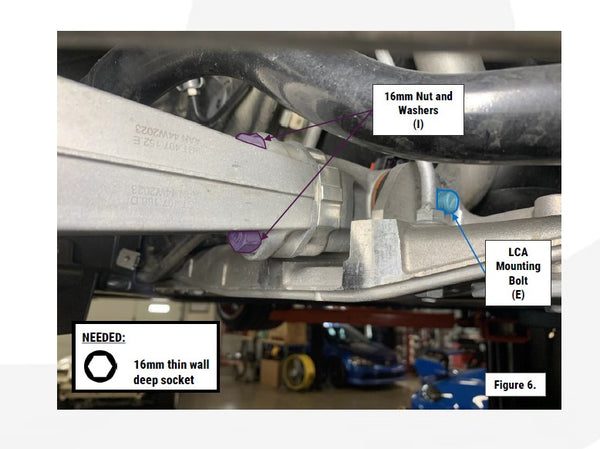
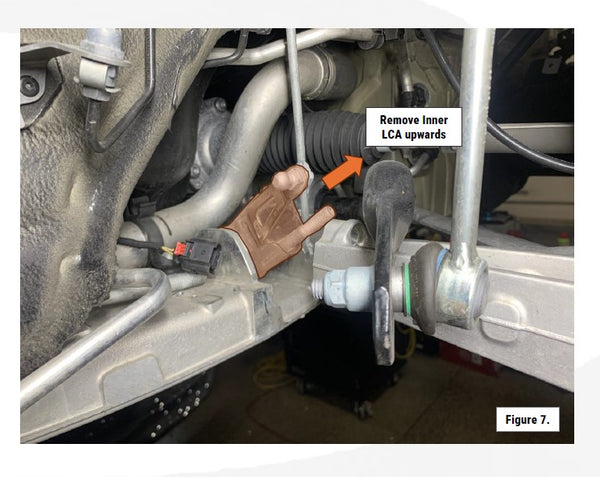
6. To Remove the LCA inner, Push the brake caliper outward, this should move the knuckle out pivoting from the tie rod, and pulling the LCA out from the inner bearing. Tilt the studs up on the inner LCA and remove the Inner LCA upwards.
*NOTE ON STUD LENGTH AND SHIM SELECTION*
The 992 GT3 and GT3RS stud length is limited by the LCA brake duct. If the
studs are too long, they will not allow the brake duct to be installed as it would hit the studs when there are no shims installed.
There are 3 Dundon Motorsports 992 GT3/RS LCA inner that can be used:
a) 403-10008 (992 GT3 +10mm longer than stock)
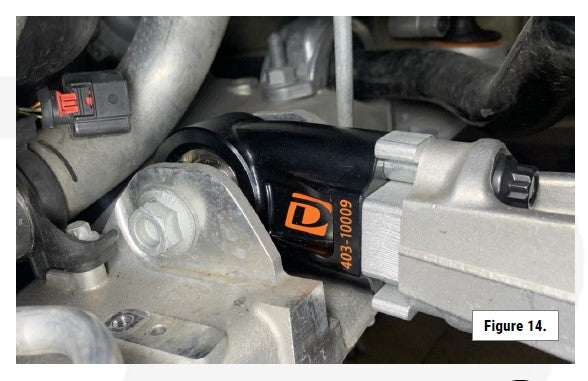
b) 403-10009 (992 GT3RS STOCK LENGTH without OEM shim) (GT3 +15mm)
c) 403-10010 (992 GT3RS +5mm longer than stock with shim) (GT3 +20mm)

If there is no OEM height sensor bracket installed, then a 1/2” shim or 12mm shim can be used.
* PRO TIPS for LCA Inner selection:*
▪ If you have the „403-10008 (992 GT3 +10mm longer than stock)” arms and are using 3/8” shims and need wider track or “more shim” then you can run a „403-10009 (992 GT3RS STOCK LENGTH without OEM shim) (GT3 +15mm)” or „403-10010 (992 GT3RS +5mm longer than stock with shim) (GT3 +20mm)” arms. 992 GT3 with the +20 Inner LCA and a 3/8” shim is nearly 30mm of wider track on. Each side.
▪ If you have a GT3RS and are running the „403-10009 (992 GT3RS STOCK LENGTH without OEM shim) (GT3 +15mm)” and 3/8” shims and need wider track or “more shim” then you can run the „403-10010 (992 GT3RS +5mm longer than stock with shim) (GT3 +20mm)” lower to gain another 5mm of shim. This allows almost 15mm wider track than a stock GT3RS Stock LCA Inner arm.

7. Insert Inner LCA from the top same as removal. It is a snug fit so have patience getting the spacers into the LCA ears or mounting tabs.

8. Once they are started and in, you can install the LCA height sensor bracket onto the studs.

9. Push out on the caliper just like for removal, move the Outer LCA away from the inner, then tilt the Inner LCA downward and align the studs with the Outer LCA holes.

10. Work the Inner LCA mounting bolt into the spacers and through the inner bearing. The snug fit can make this a little difficult to move the bearing to get it aligned with the bolt holes.

12. Install the nut for the LCA mounting bolt and torque to spec 80 Nm.
13. Install the Washers and nuts on the LCA studs (Figure 13.).

14. Install shims as needed, or none and tighten the nuts to spec of 45 Nm.

▪ Install back the Lower Knuckle bottom brake duct.
▪ Install back the LCA brake duct.
▪ Install back front under-panel.
▪ Install wheels back on the car.
You have successfully installed your 992 GT3 / GT3RS LCA Inner.
